Welcome back! I hope your tin is looking good from the outside. Today I'll show you how to get the inside looking like a bedroom.
Step 1: Take your wallpaper (or whatever you choose to use. I've used fabric or regular paper, too) and trace the top of your tin. You will want to cut just inside the line as the inside of the tin is slightly smaller than the outside. Step 2: Glue the wallpaper to the inside top of the tin. Be sure to spread the wallpaper as flat as you can.
Step 3: Trace the bottom of the tin onto a piece of batting. Cut slightly inside the line. This is your mattress. You can also use felt for this step.
Step 4: The blanket. For this tutorial I thought we'd just make a simple blanket. You can also make a cute little quilt if you'd like and have the skills. For the blanket, take two pieces of flannel and one of batting. Sandwich the batting between the flannel, right sides out. Just make sure your pieces are larger than you want the blanket. I really just eyeball this but you could also trace the size onto the flannel.
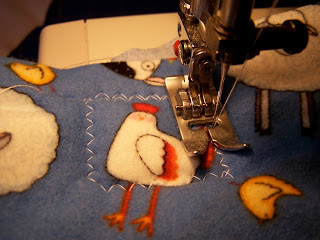
Step 5: Quilt the blanket. I just sewed diagonal lines across the fabric making sure I sewed beyond the ends of my blanket.
Step 6: Cut the blanket where you want. Zig Zag around the ends. You're left with something like this.
Step 7: For the pillow I take four layers of batting.
Step 8: I then sandwiched the batting between two pieces of cute flannel, right sides out. Zig zag to delineate the outside of the pillow. Again, I really just eyeball it but you could draw the outline and zig zag over it.
Step 9: Cut around your zig zag. Be careful not to cut into the zig zag as it will make your thread unravel.
Step 10: Put everything together. I like to fold down the top of the blanket. It just seems more homey. But, that wall looks a little blank.
Step 11: I decided my Pal Toy-d collects birdhouses. She hung a few in her room. Add stickers as you desire.
I hope you enjoy making the inside of your tin feel homey. Check back in tomorrow for my last tutorial. We'll make our Pal Toy-d!


No comments:
Post a Comment