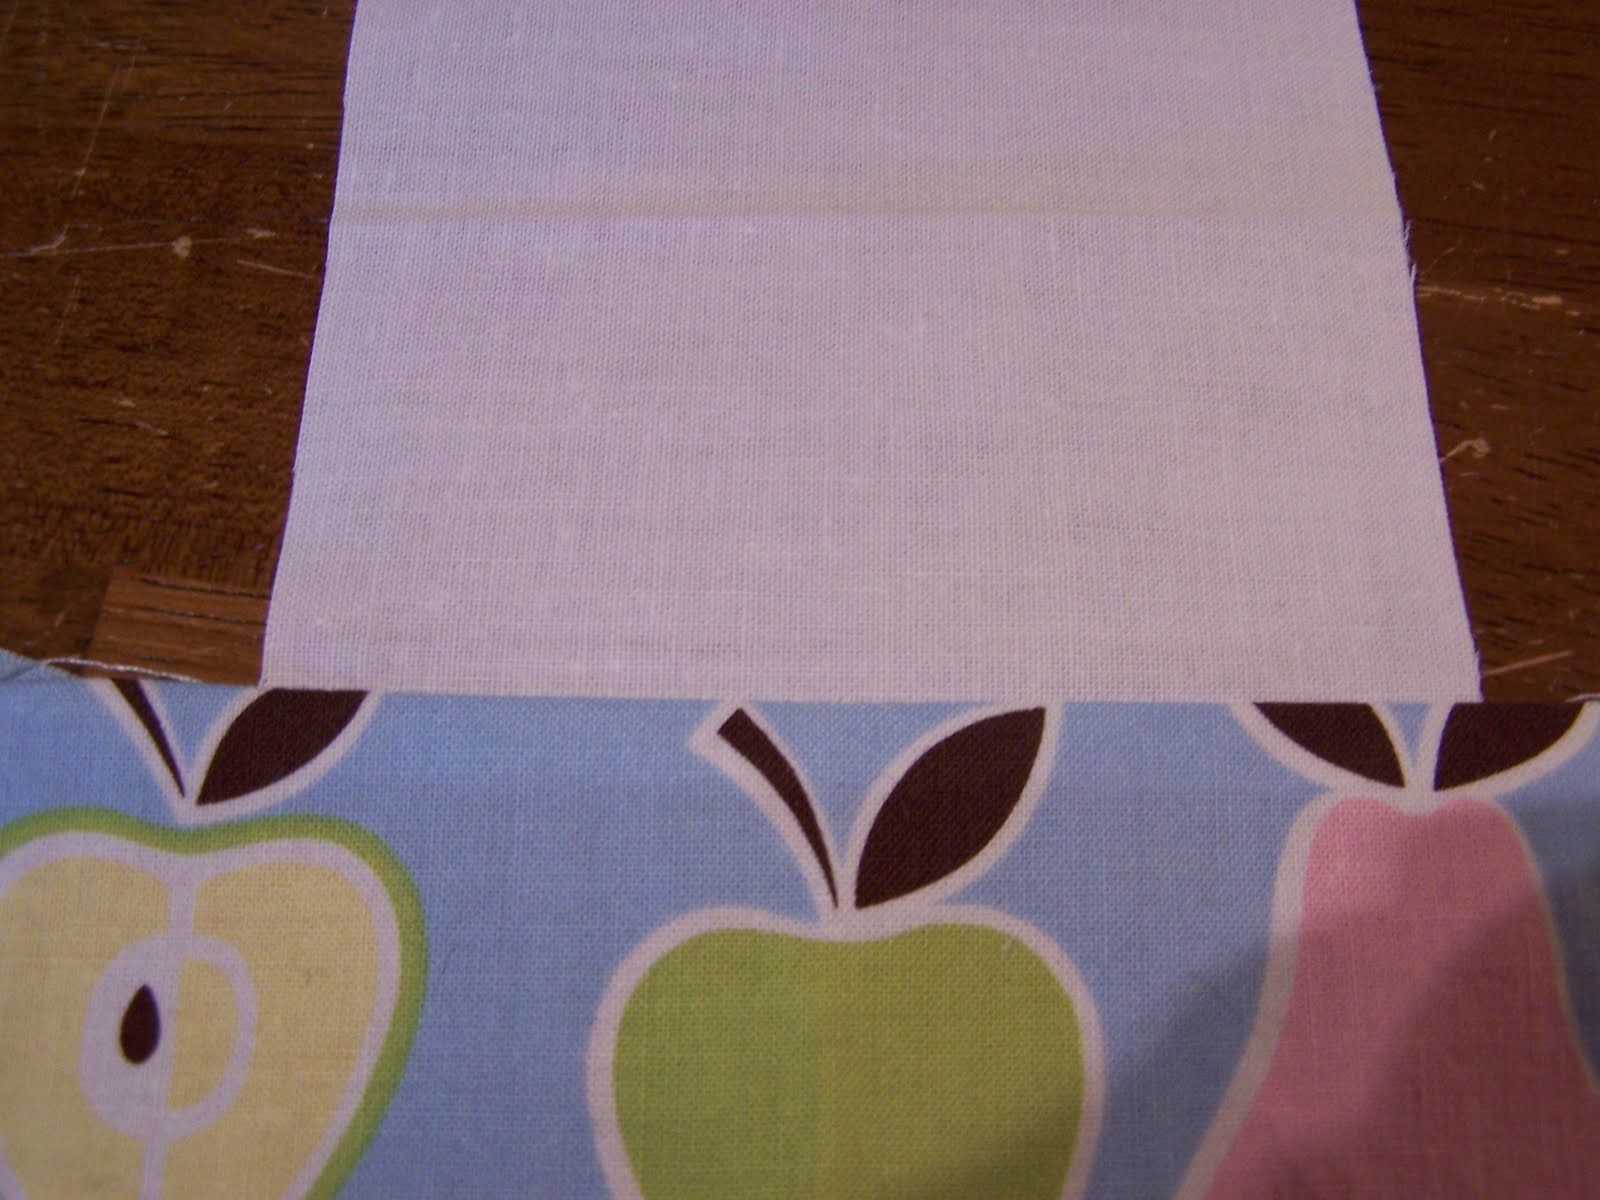
Hello and welcome to part three of my Pal Toy-d tutorial. If you've been following along (Part I and Part II), you'll know that today I will show you how to make your Pal. I find this the most difficult of the steps but at the end, the part I like the most. Step 1: Gather your materials. For this Pal I used three different fabrics, the white for the face, the apples for the front body and the green for the back. I used a piece of trim for across the seam.
Step 2: Sew the front fabrics together and iron toward the darker color.
Step 3: This step is optional. I sewed some ribbon across the right side of the front right where the seam was sewn.
Step 4: with right sides together lay the backing fabric over the front joined pieces. Draw the shape you want for your Pal. I try to make sure the "face" takes up a bit less area than the "clothes" fabric. It's up to you!
Step 5: Sew along the line.
Make sure you leave enough space to turn your Pal right side out.
Step 6: Cut around your seam. Leave more fabric where you intend to turn. This helps when you go to sew the seam shut.
Step 7: Get out your chop stick and turn your Pal right side out.
Step 8: Stuff your Pal with Polyfil (or whatever you want). Don't make her too fat or the Altoid's tin won't close.
Step 9: Sew the seam closed.
Hey, we're almost finished! Doesn't she look like an Easter Egg?
Step 10: Embroider the face. You could also draw or paint her face if you want. I'm not so good at doing it that way and you can't erase mistakes. At least with embroidery I can (and have) pick out the stitches if I make a mistake.
Well, there she is, all tucked in for the night. I know I'm always smiling when I get to snuggle down for the evening.
All she needs is a name. I hope you enjoyed this tutorial. I'd love to know if you make a Pal Toy-d. Also, if you have any questions, just leave me a comment and I'll get back to you just as soon as I can.


No comments:
Post a Comment